How to Back Up Your Laptop Properly: A 3-2-1 Checklist for UK Users
A laptop is a single point of failure wearing a nice aluminium coat. It gets dropped, stolen, drenched on a commute, or its drive simply stops spinning one Tuesday morning. When that happens, the things you actually miss are rarely the whole machine. They are a smaller set of files: the folder of client documents, ten years of photographs, the spreadsheet that runs your side business.
Protecting those files is not complicated. It requires three copies, on two types of storage, with one of them somewhere else. That is the 3-2-1 rule, and this is how to put it into practice properly — including the part most people skip.
What 3-2-1 actually means
Keep three copies of anything you would be upset to lose, on two different types of storage, with one copy held off-site. In practice that usually looks like this:
- Copy one: the working files on your laptop.
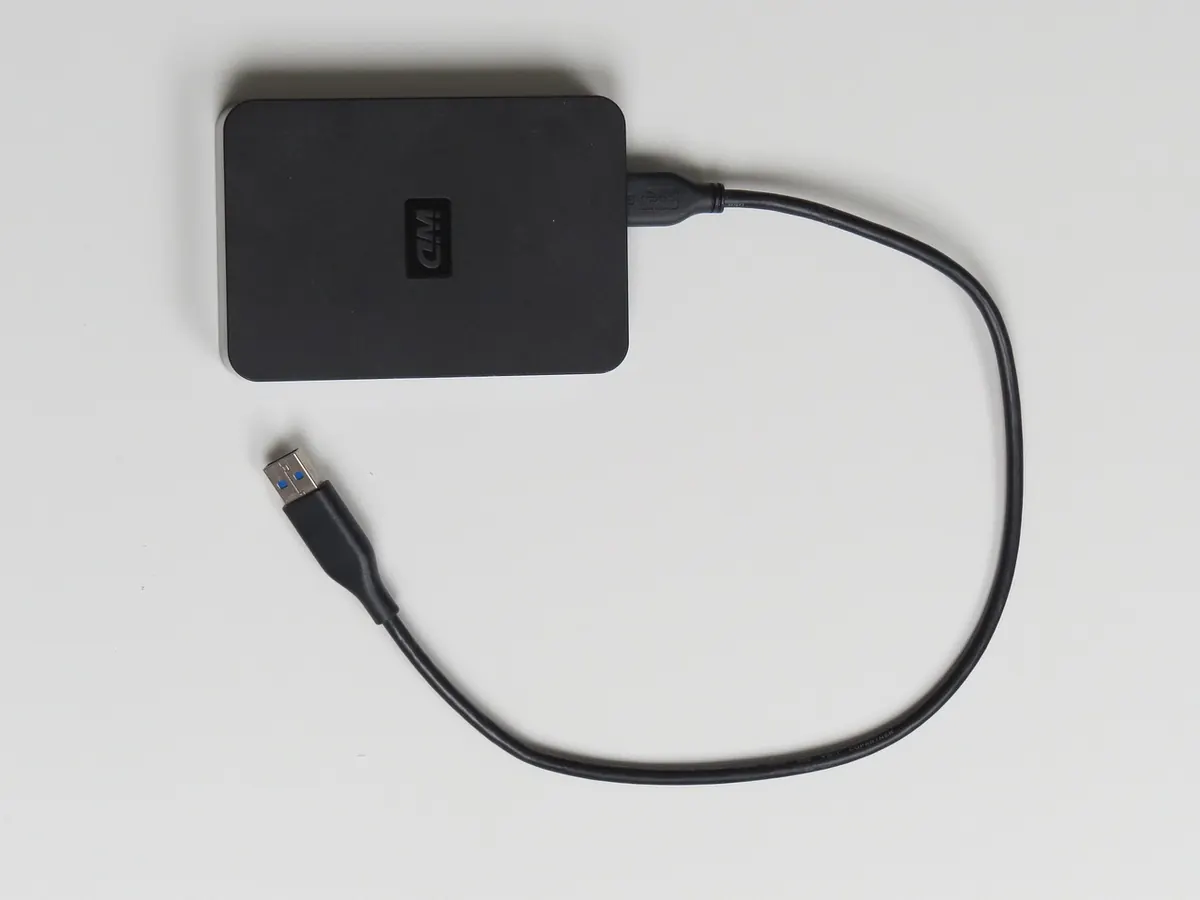
- Copy two: an external drive on your desk.
- Copy three: an encrypted cloud backup, stored elsewhere.
The point is to spread your risk across different failure modes. A burglar takes the laptop and the drive on the shelf beside it. Ransomware encrypts the laptop and everything attached to it. The off-site copy is what saves you.
There is a zeroth rule, too: a backup you have never restored from is not a backup. It is a hope.
Start by deciding what you are protecting
Backing up everything is slower, more expensive and largely pointless. Split your data into two piles.
Worth backing up
- Documents, spreadsheets and presentations you created.
- Photographs, video and audio you cannot recreate.
- Records: tax, invoices, insurance, warranties.
- Work projects, code and design files.
- Small but annoying losses: browser bookmarks, a password manager export, software licence keys, locally stored email archives.
Not worth backing up
Operating system files, installed applications, caches and temporary folders. Reinstalling Windows or macOS and re-downloading your apps takes an afternoon. Copying 200GB of system files takes the same afternoon and gives you nothing back.
Step one: the external drive
Buy a portable USB drive with roughly twice the capacity of everything currently on your laptop. Run the first backup when you can leave the machine plugged in for a few hours — the initial copy is always the slow one.
On a Mac, plug the drive in and answer yes when macOS offers to use it for Time Machine. That is genuinely all it takes. Time Machine keeps hourly backups for a day, daily for a month, and weekly until the drive fills up, so a file you delete today is often still recoverable next month.
On Windows, File History does something similar for your personal folders. Turn it on, point it at the drive, and leave it running. If you want an exact mirror instead, folder structure and all, a free tool such as FreeFileSync or a scheduled robocopy job will do it.
Two practical notes. Keep the drive plugged in only while it is backing up; a drive that is permanently attached is exposed to the same ransomware or power surge as the laptop. And if you can stretch to a second drive, rotate the two and leave one at work or at a relative's house. That gives you an off-site copy without paying a subscription.
Step two: an off-site copy in the cloud
Here is the distinction that catches people out. OneDrive, Google Drive, Dropbox and iCloud Drive are sync services, not backups. Delete a file on the laptop and it vanishes from the cloud within seconds. Version history gives you a safety net, but only for a limited window, and a sync service will cheerfully mirror a folder full of ransomware-encrypted files.
A proper backup service — Backblaze, iDrive, CrashPlan and similar — runs in the background, keeps deleted and older versions for a set period, and lets you download everything again. When choosing one, check four things:
- Does it back up external drives as well as the internal one?
- How long does it keep files you have deleted or changed?
- Is your data encrypted with a key that only you hold?
- How painful is a full restore, and is there a charge for it?
Whichever service you pick, switch on two-factor authentication for that account. For anything genuinely sensitive — scanned passports, medical letters, financial records — consider encrypting the folder before it leaves your machine, using VeraCrypt or an encrypted 7-Zip archive.
Step three: build a routine you will actually keep
Automation handles most of it. The cloud backup runs continuously and the external drive runs on a schedule. What remains is the human part:
- Weekly: plug in the external drive and check the backup finished without errors.
- Monthly: open your cloud backup dashboard and confirm the last successful upload date.
- Quarterly: restore a file, genuinely, and make sure it opens.
- Annually: review what is being backed up. New folders, new drives, new phone photos.
Put those in a calendar with reminders. A backup routine that depends on remembering to do it will quietly stop happening by March.
Step four: prove the restore works
This is what separates a real backup from an expensive illusion. Copying files is easy; getting them back is where things fail.
Start small. Delete a file you do not need and restore it from the external drive. Then restore a folder from the cloud. Open the files afterwards — a backup that produces corrupt documents is worse than useless, because it makes you complacent.
Once a year, do the bigger test: restore your entire user folder onto a spare machine or an empty partition, or boot from a full-system image. If you could not rebuild your laptop from your backups in a day, that is worth discovering now rather than in an emergency.
Finally, write the essentials on paper: where the backups live, the account email addresses, the encryption passphrase and the recovery codes. Keep it somewhere physically safe. A backup you cannot access is just noise.
A checklist you can finish this weekend
- List the folders and files you would hate to lose.
- Buy an external drive with room to grow.
- Turn on Time Machine or File History and run the first backup.
- Choose one cloud backup service, enable two-factor authentication and start it running.
- Write the recovery details on paper.
- Restore one file from each copy to prove it works.
- Set the monthly and quarterly reminders.
While you are at it, switch on FileVault on a Mac or BitLocker on Windows. Encryption will not stop a laptop being stolen, but it stops a thief reading your files — which matters far more than the hardware. If you handle other people's personal data for work, check your employer's policy and your own data protection obligations before you move anything into the cloud.
Photo: Hans / Pixabay